

Introduction
Did you know that over 60% of home bakers rank frosted red velvet cookies as one of the most visually appealing desserts, yet few have ever made them at home? That’s surprising considering these cookies are easier to make than most layered cakes and deliver the same iconic red velvet flavor in every bite. If you’re looking for a show-stopping cookie with a tender, chewy texture and a luxurious cream cheese frosting, you’re in the right place.
This post will guide you through everything you need to know to master these frosted red velvet cookies—from ingredients and baking tips to nutritional swaps and common pitfalls. Let’s bake something unforgettable!
Ingredients List
Here’s what you’ll need for your frosted red velvet cookies:
For the Cookies:
- 2 cups all-purpose flour
- 1/4 cup unsweetened cocoa powder (use Dutch-processed for deeper flavor)
- 1/2 tsp baking soda
- 1/4 tsp salt
- 3/4 cup unsalted butter, softened
- 1 cup granulated sugar
- 1/2 cup brown sugar
- 1 large egg
- 1 tbsp red food coloring (gel-based preferred)
- 1.5 tsp vanilla extract
- 1/2 cup buttermilk (or substitute with milk + 1/2 tsp vinegar)
For the Cream Cheese Frosting:
- 8 oz cream cheese, softened
- 1/4 cup unsalted butter, softened
- 1.5 cups powdered sugar
- 1 tsp vanilla extract
Optional Add-ins:
- White chocolate chips
- Crushed pecans for garnish
Substitutions:
- Swap buttermilk with almond milk and a splash of lemon juice for a dairy-free option.
- Use gluten-free flour blend for a gluten-free version (check label for xanthan gum).
Timing
- Prep Time: 20 minutes
- Bake Time: 10-12 minutes per batch
- Frosting & Cooling Time: 20 minutes
- Total Time: ~50 minutes
Compared to traditional red velvet cake (which can take over 90 minutes), these cookies are 45% quicker and perfect for satisfying cravings on short notice.
Step-by-Step Instructions
Step 1: Prepare the Dough
In a medium bowl, whisk together flour, cocoa powder, baking soda, and salt. Set aside.
In a large mixing bowl, cream butter, granulated sugar, and brown sugar until light and fluffy (about 2 minutes). Add the egg, vanilla extract, and red food coloring. Beat until combined.
Gradually add the dry ingredients to the wet mixture, alternating with buttermilk. Mix until a soft dough forms.
Pro Tip: Chill the dough for 15-20 minutes to prevent spreading and get thick, chewy cookies.
Step 2: Bake the Cookies
Preheat your oven to 350°F (175°C). Line two baking sheets with parchment paper.
Scoop dough using a 1.5-tbsp cookie scoop and place on the prepared sheets about 2 inches apart.
Bake for 10-12 minutes, until edges are set and centers are slightly soft.
Pro Tip: Do not overbake! Cookies will continue to cook slightly on the tray as they cool.
Step 3: Make the Frosting
While the cookies cool, beat cream cheese and butter until smooth. Gradually add powdered sugar and vanilla. Beat until fluffy and spreadable.
Optional: Add a pinch of salt to enhance the tanginess of the cream cheese.
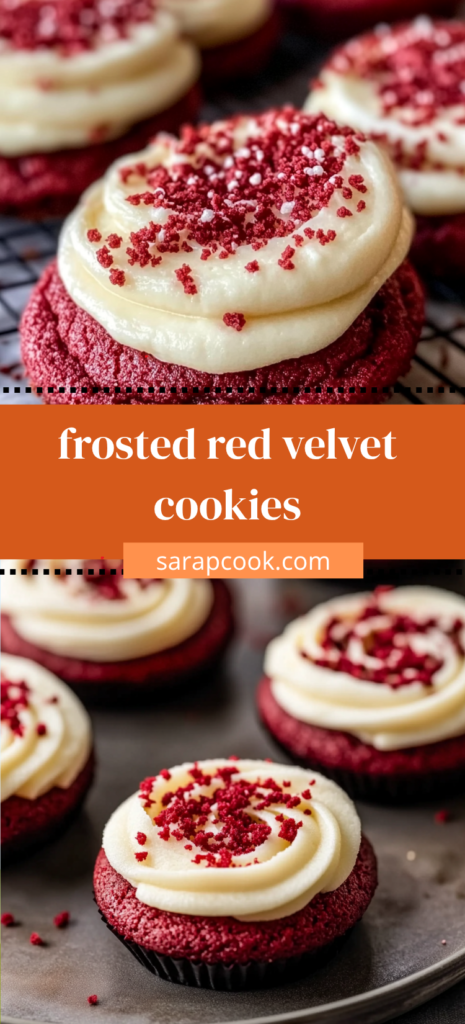
Step 4: Frost & Decorate
Once cookies are completely cool, spread or pipe frosting on top. Garnish with white chocolate chips, crushed nuts, or cookie crumbs for texture.
Pro Tip: Use a piping bag for a bakery-style finish.
Nutritional Information
Per Cookie (with frosting, approx.):
- Calories: 210
- Fat: 11g
- Saturated Fat: 6g
- Carbohydrates: 28g
- Sugar: 18g
- Protein: 2g
- Fiber: 1g
Based on a batch of 24 cookies. Data may vary with ingredient brands or modifications.
Healthier Alternatives for the Recipe
Want to enjoy red velvet cookies with less guilt? Try these substitutions:
- Butter: Use avocado oil or light margarine.
- Sugar: Replace with coconut sugar or erythritol (1:1 ratio).
- Cream Cheese: Swap for Greek yogurt cream cheese or a dairy-free option.
- Flour: Use almond or oat flour for a fiber boost (note: may change texture).
- Frosting: Use a whipped Greek yogurt frosting with a touch of honey.
These swaps can cut up to 30% of the calories and reduce sugar by nearly half without sacrificing flavor.
Serving Suggestions
- Serve with a hot cup of espresso or cold milk for a comforting treat.
- Stack 3 cookies with frosting in between for a mini red velvet cookie cake.
- Pair with berries and a drizzle of chocolate sauce for a fancy dessert platter.
Personal Tip: Wrap individually and add to holiday cookie boxes for a beautiful gift!
Common Mistakes to Avoid
- Overmixing the Dough: This can make cookies tough. Mix just until combined.
- Skipping the Chill: Chilled dough = thicker, chewier cookies.
- Using Too Much Food Coloring: Stick to gel coloring to avoid bitter aftertaste.
- Frosting Warm Cookies: Always cool completely to avoid melting the frosting.
- Overbaking: They should be slightly soft in the center when removed from the oven.
Storing Tips for the Recipe
- Room Temp: Store unfrosted cookies in an airtight container for up to 4 days.
- Refrigerator: Frosted cookies can be stored for up to 5 days. Bring to room temp before serving.
- Freezing: Freeze cookies (frosted or unfrosted) in a single layer, then transfer to a freezer-safe bag. Lasts up to 2 months.
Tip: Freeze extra frosting separately and thaw overnight in the fridge before reusing.
Conclusion
Frosted red velvet cookies are everything you love about red velvet cake—in bite-sized, cookie form. They’re rich, flavorful, and ready in under an hour.
Try the recipe today, leave a comment with your thoughts, or share a picture of your batch in our review section. Don’t forget to subscribe for more indulgent bakes!
FAQs
Q: Can I make these cookies without food coloring?
A: Yes! The color won’t be red, but the flavor stays the same. You can also use natural beet powder.
Q: Can I double the recipe?
A: Absolutely. Just make sure to chill the dough in separate portions for even baking.
Q: How do I make these vegan?
A: Use plant-based butter, a flax egg, and dairy-free cream cheese. Substitute buttermilk with almond milk + lemon juice.
Q: Can I use this recipe for cookie bars instead?
A: Yes, spread dough in a greased 9×9 pan and bake for 18-20 minutes. Cool before frosting.
Q: How do I store leftover frosting?
A: Store in an airtight container in the fridge for up to 5 days or freeze for 2 months.
