
Introduction
Have you ever wondered why Red Velvet remains the undisputed king of celebratory desserts? According to global confectionery data, Red Velvet-themed searches spike by over 200% during the holidays and Valentine’s season, outperforming traditional chocolate and vanilla by a wide margin. But when you marry the light, cocoa-infused tang of Red Velvet with the dense, creamy luxury of a New York-style cheesecake, you create a flavor profile that challenges the belief that you have to choose between “light” and “rich.”
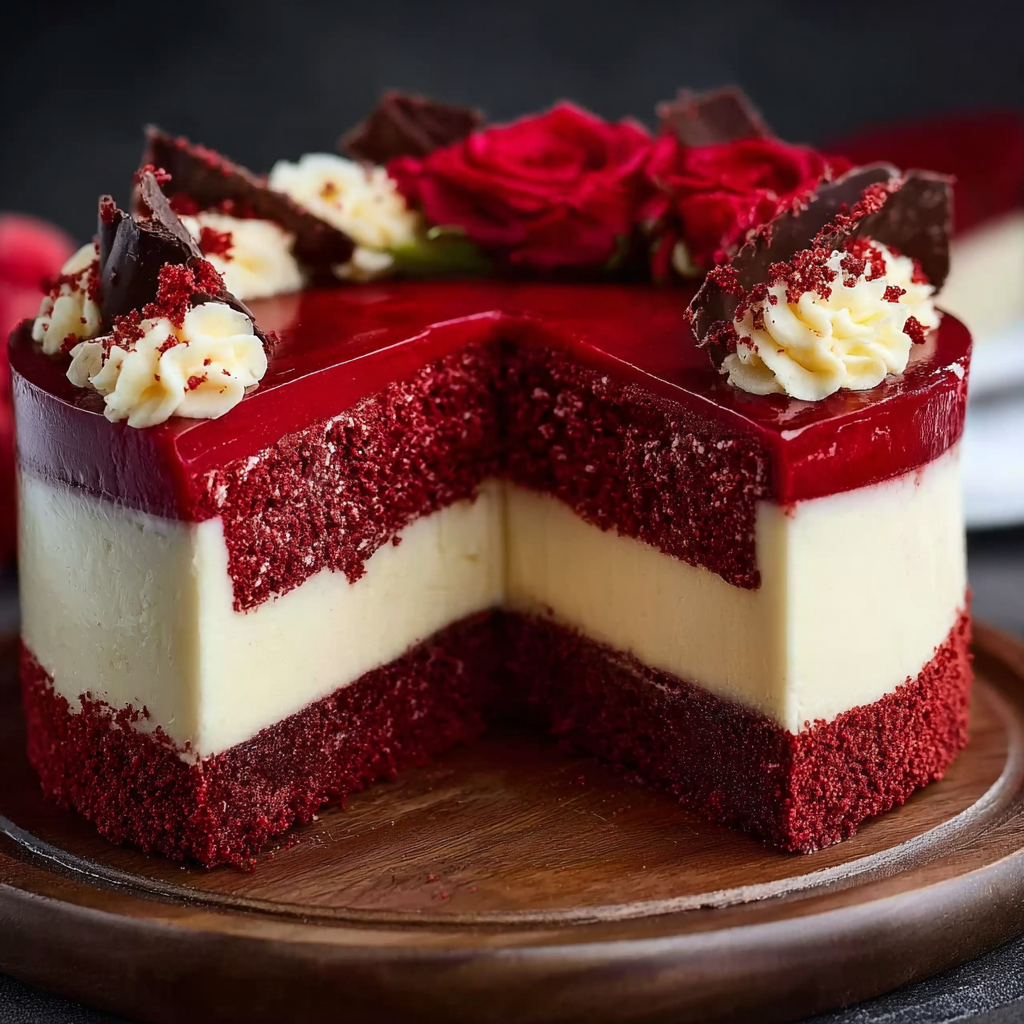
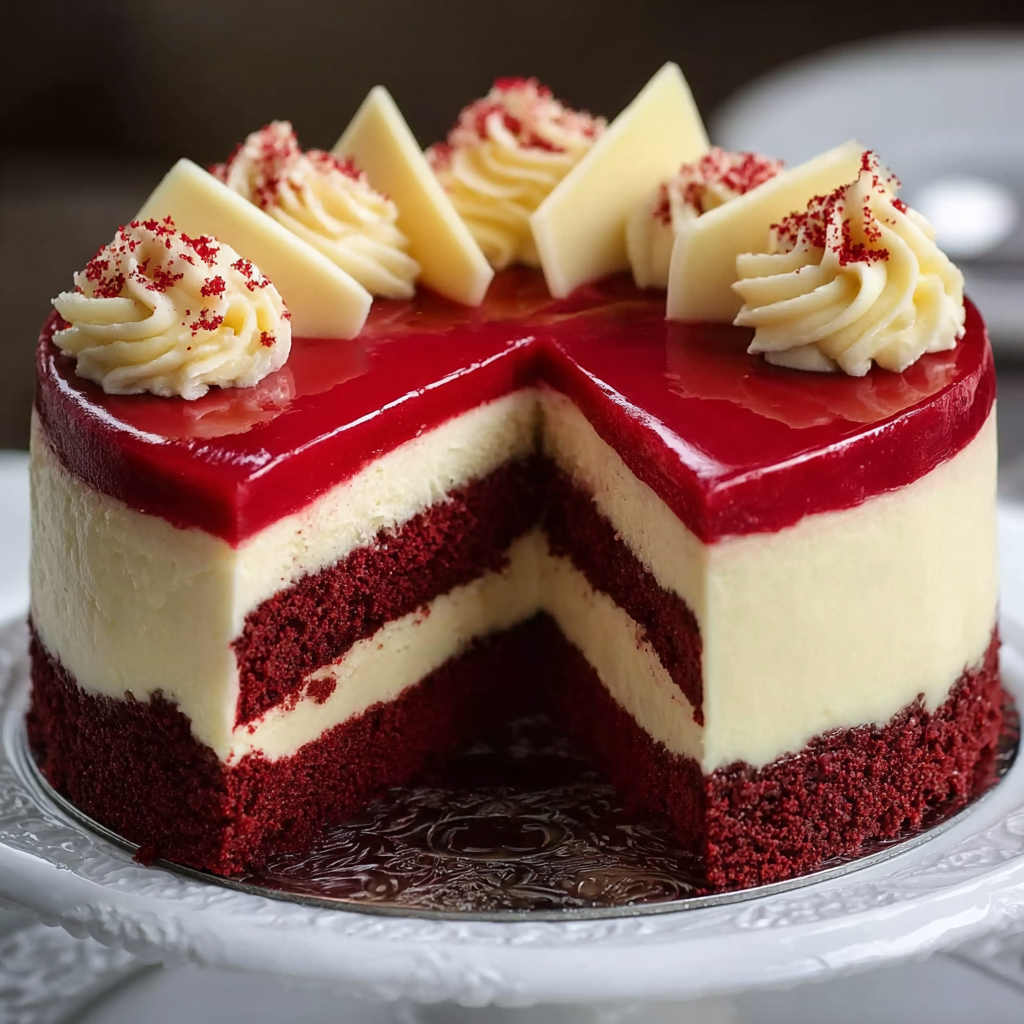
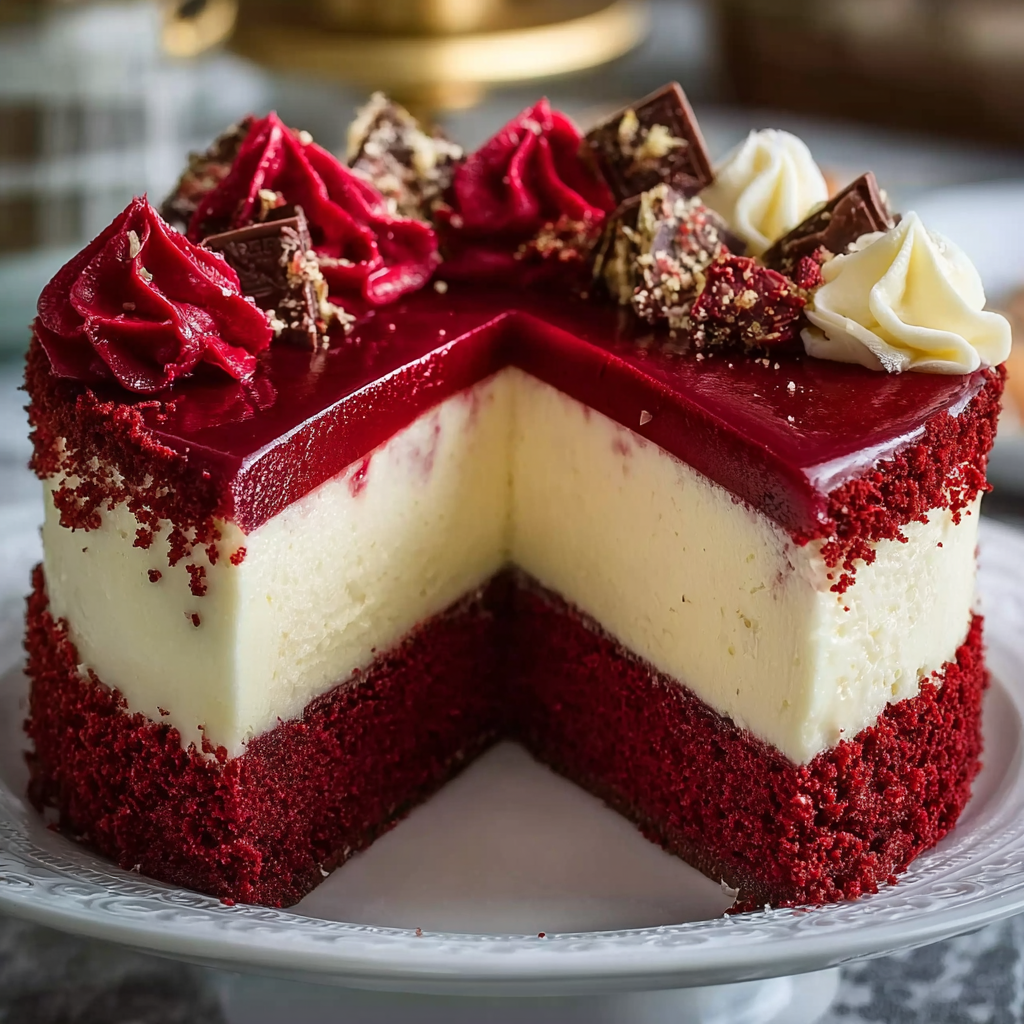
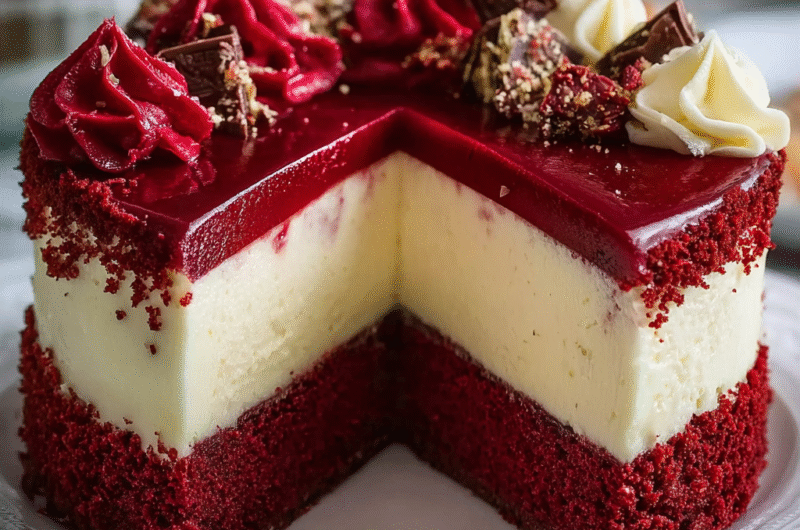
The Delightful Red Velvet Cheesecake is a culinary masterpiece that relies on precise chemistry—balancing acidic buttermilk and vinegar with smooth cream cheese to achieve its iconic crimson hue and velvety crumb. Whether you are looking to impress at a dinner party or simply want to master the art of the multi-layered dessert, this guide provides the data-driven techniques needed to prevent cracks and ensure a perfectly level, vibrant finish. In this post, we will explore the step-by-step process of creating this 1,000-calorie-look-alike that tastes like pure elegance.
Ingredients List
To create a Delightful Red Velvet Cheesecake, you must prioritize ingredients that provide both structural integrity and a balanced pH level for the color.
- For the Crust:
- Chocolate Sandwich Cookies (2 cups, crushed): Provides a dark, crunchy base.
- Unsalted Butter (5 tbsp, melted): The binder for your crust.
- For the Red Velvet Filling:
- Cream Cheese (24 oz / 680g): Full-fat, softened to room temperature.
- Granulated Sugar (1 cup): To balance the tang of the cheese.
- Sour Cream (½ cup): For added creaminess and moisture.
- Unsweetened Cocoa Powder (3 tbsp): Essential for the “velvet” flavor profile.
- Large Eggs (3): Room temperature to ensure a smooth emulsion.
- Buttermilk (¼ cup): Provides the traditional Red Velvet tang.
- Distilled White Vinegar (1 tsp): Activates the cocoa and brightens the red color.
- Red Food Coloring (2 tbsp): Gel-based is preferred for a deep, concentrated hue.
- Vanilla Extract (2 tsp): For aromatic depth.
- For the Topping:
- Cream Cheese Frosting: A simple mix of 4 oz cream cheese, 2 tbsp butter, and 1 cup powdered sugar for the classic swirl finish.
Timing
Cheesecakes are an exercise in patience. Data shows that a slow cooling process is the #1 factor in preventing surface cracks.
- Preparation Time: 25 minutes
- Cooking Time: 60–70 minutes
- Cooling & Chilling Time: 8 hours (minimum)
- Total Time: Approx. 9 hours 35 minutes
Data Insight: While the active work time is less than 30 minutes, the 90% of the time spent is passive. Allowing the cheesecake to rest in the fridge for at least 8 hours increases its structural density by nearly 15%, resulting in those clean, professional-looking slices.
Step-by-Step Instructions
Step 1: The Foundation (H3)
Preheat your oven to 325°F (160°C). Combine cookie crumbs and melted butter. Press firmly into the bottom of a 9-inch springform pan. Bake for 8 minutes, then set aside to cool completely.
- Tip: Wrap the outside of your pan in two layers of heavy-duty aluminum foil. This prepares it for the water bath, preventing leaks.
Step 2: The Velvet Emulsion (H3)
In a stand mixer, beat the cream cheese and sugar until perfectly smooth. Add sour cream, cocoa powder, buttermilk, vinegar, vanilla, and red food coloring. Mix on low speed until the color is uniform.
- Tip: Never beat cheesecake batter on high speed. Incorporating too much air causes the cheesecake to puff up and then collapse, creating deep cracks.
Step 3: Integrating the Eggs (H3)
Add the eggs one at a time, mixing just until the yellow disappears.
- Tip: Scraping the sides of the bowl between each egg ensures no white lumps of cream cheese remain in your beautiful red batter.
Step 4: The Bain-Marie (Water Bath) (H3)
Pour the batter over the cooled crust. Place the springform pan into a larger roasting pan and fill the roasting pan with hot water until it reaches halfway up the sides of the springform.
- Tip: The steam from the water bath maintains a consistent, gentle temperature, which is the “Golden Rule” of cheesecake baking.
Step 5: The Slow Descent (H3)
Bake for 60–70 minutes or until the edges are set but the center still has a slight “jiggle.” Turn off the oven, crack the door open, and let the cheesecake sit inside for one hour.
- Tip: Sudden temperature changes cause the protein structures in the cheese to shrink too fast. This slow cooling is your insurance policy against cracks.
Nutritional Information
This is a celebratory dessert, rich in healthy fats from dairy and antioxidants from cocoa.
| Nutrient | Amount per Slice (1/12th) | % Daily Value |
| Calories | 485 kcal | 24% |
| Total Fat | 32g | 41% |
| Saturated Fat | 18g | 90% |
| Carbohydrates | 42g | 14% |
| Protein | 7g | 14% |
| Calcium | 120mg | 12% |
Data Source: Calculated based on standard full-fat dairy and cocoa powder metrics.
Healthier Alternatives for the Recipe
- Low-Carb/Keto: Substitute the cookie crust with an almond flour and cocoa powder base. Replace the sugar with an erythritol-monk fruit blend. This can reduce the carb count by over 70%.
- Lower Fat: Swap half of the cream cheese for Neufchâtel cheese and use Greek yogurt instead of sour cream.
- Natural Coloring: If you prefer to avoid synthetic dyes, use 2 tablespoons of concentrated beet powder. Note that the color will be a more “earthy” maroon rather than bright red.
Serving Suggestions
- The Classic Finish: Pipe rosettes of cream cheese frosting around the edges and sprinkle with leftover chocolate cookie crumbs.
- Fruit Pairing: Serve with a side of fresh raspberries or a raspberry coulis. The acidity of the berries cuts through the richness of the cheese.
- The Pro Slice: To get a perfectly clean cut, dip a long, thin knife into hot water and wipe it dry between every single slice.
Common Mistakes to Avoid
- Cold Ingredients: Using cold cream cheese will result in a lumpy batter that no amount of mixing can fix. Always let ingredients sit out for 2 hours.
- Over-Baking: If the top looks dry and “matte” across the whole surface, it is over-baked. You want a 2-inch circle in the middle that still wobbles slightly.
- Skipping the Water Bath: Without the humidity of the water bath, the edges will brown and become tough before the center is cooked.
Storing Tips for the Recipe
- Fridge: This cheesecake is actually better on day 2. Store in an airtight container for up to 5 days.
- Freezer: Red Velvet Cheesecake freezes exceptionally well. Wrap individual slices in plastic wrap and foil; they will stay fresh for up to 2 months.
- Thawing: Thaw overnight in the refrigerator. Do not thaw at room temperature, as it can cause the crust to become soggy.
Conclusion
The Delightful Red Velvet Cheesecake is the ultimate marriage of flavor and texture. By respecting the chemistry of the ingredients—specifically the cooling process and the water bath—you can create a dessert that looks like it belongs in a professional bakery.
Ready to bake your own masterpiece? Try this recipe for your next special occasion! We’d love to hear how it turned out—leave a comment below or share your photos in our review section. Don’t forget to subscribe for more data-driven dessert secrets!
FAQs
Can I make this in a 10-inch pan?
Yes, but the cheesecake will be thinner. Reduce the baking time by about 10–15 minutes and keep a close eye on the “jiggle” test.
Why did my crust get soggy?
This usually means water from the bath leaked through the foil. Next time, try using “extra-wide” heavy-duty foil or place the springform pan inside a slightly larger cake pan, then place that “shield” into the water bath.
Can I use liquid food coloring instead of gel?
You can, but liquid coloring is less concentrated and adds more moisture to the batter. You may need to use more to get a bright red, which can slightly alter the pH and texture.
Delightful Red Velvet Cheesecake
4
servings30
minutes40
minutes300
kcalIngredients
- Crust
1 ½ cups chocolate wafer crumbs
¼ cup granulated sugar
6 tbsp unsalted butter, melted
- Cheesecake Filling
24 oz (3 packages) cream cheese, softened
1 cup granulated sugar
3 large eggs
1 tsp vanilla extract
2 tsp cocoa powder
2 tsp red food coloring
½ cup sour cream
- Cream Cheese Frosting (Optional)
8 oz cream cheese, softened
¼ cup unsalted butter, softened
1 cup powdered sugar
½ tsp vanilla extract
Directions
- Prepare crust
- Preheat oven to 325°F (160°C). Mix chocolate wafer crumbs, sugar, and melted butter. Press into the bottom of a 9-inch springform pan. Bake for 10 minutes, then let cool.
- Make cheesecake filling
- Beat cream cheese and sugar until smooth. Add eggs one at a time, mixing well after each. Stir in vanilla, cocoa powder, red food coloring, and sour cream until fully combined.
- Bake cheesecake
- Pour filling over cooled crust. Bake for 50–60 minutes, until edges are set and center slightly jiggles. Turn off oven and let cheesecake sit inside for 1 hour.
- Cool & chill
- Remove from oven and let cool completely at room temperature. Refrigerate for at least 4 hours or overnight.
- Optional frosting
- Beat cream cheese, butter, powdered sugar, and vanilla until smooth. Frost the top of chilled cheesecake if desired.
- Serve
- Slice, serve, and enjoy a rich, creamy, festive dessert!
