
Introduction
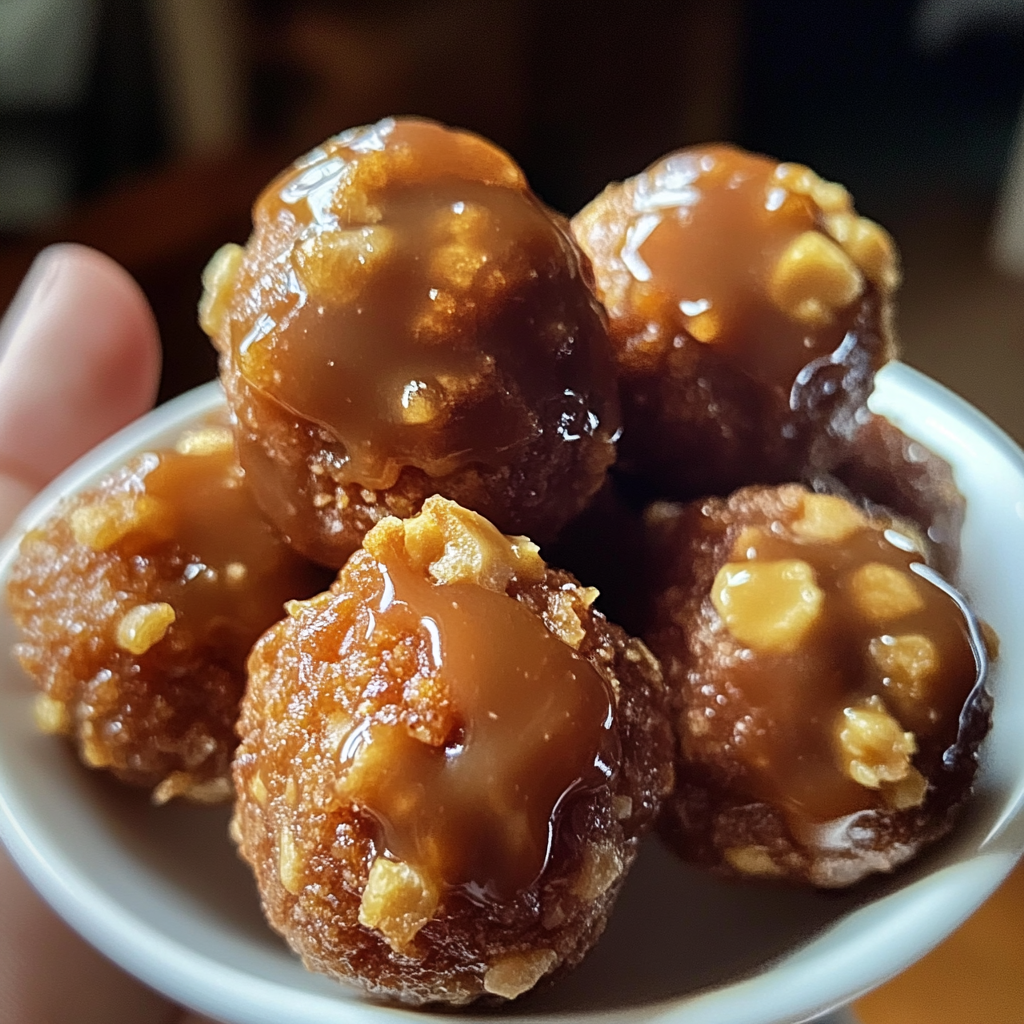
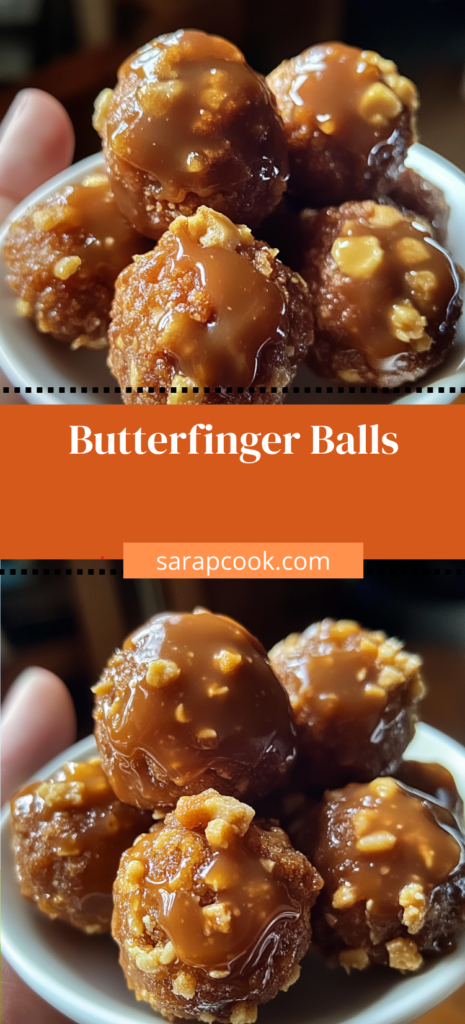
Looking for a no-bake dessert that delivers big flavor with barely any effort? Butterfinger Balls are your new go-to! These bite-sized candies are rich, creamy, and irresistibly crunchy thanks to crushed Butterfinger candy bars blended into a sweet peanut butter base and coated in silky chocolate.
Whether you’re prepping for the holidays, need a crowd-pleasing party treat, or just want something sweet in the freezer, these chocolate-covered Butterfinger truffles hit all the right notes.
🧁 Did you know? Butterfinger is one of the top 10 most searched candy bars in the U.S. during Halloween season. Now imagine that flavor in truffle form—yes, it’s that good.
Ingredients List
For the Filling:
- 1 1/2 cups creamy peanut butter
- 1/2 cup unsalted butter, softened
- 2 1/2 cups powdered sugar
- 1/2 teaspoon vanilla extract
- 6 fun-size Butterfinger bars, crushed (about 1 cup)
For the Coating:
- 12 oz semi-sweet or milk chocolate chips (or candy coating)
- 1 tablespoon coconut oil (optional, for smoother coating)
Optional Garnishes:
- Crushed Butterfinger crumbs
- Sea salt flakes
- Drizzle of white chocolate
Timing
- Prep Time: 20 minutes
- Chill Time: 30–60 minutes
- Total Time: ~1 hour
These are perfect for make-ahead party prep or late-night sweet tooth emergencies.
Step-by-Step Instructions
Step 1: Make the Filling
In a large bowl, beat peanut butter and butter until smooth. Add powdered sugar and vanilla; mix until a dough forms. Fold in the crushed Butterfingers.
💡 Tip: For best texture, chill the dough for 20 minutes before rolling.
Step 2: Form the Balls
Scoop out 1-inch portions of dough and roll into balls. Place them on a parchment-lined baking sheet. Chill for at least 30 minutes or freeze for 15.
Step 3: Dip in Chocolate
Melt chocolate chips with coconut oil in a microwave-safe bowl in 30-second increments until smooth. Use a fork or toothpick to dip each ball into the chocolate, letting excess drip off.
Step 4: Decorate & Set
Place coated balls back on parchment paper. Sprinkle with Butterfinger crumbs or sea salt before the chocolate sets. Refrigerate until firm.
Nutritional Information (Per Ball, Based on 24 Servings)
- Calories: 150
- Fat: 9g
- Carbs: 15g
- Sugar: 12g
- Protein: 2g
- Sodium: 60mg
🍬 Note: These are treats, so enjoy in moderation—but they’re rich enough that one or two go a long way.
Tips for Success
- Crush Butterfingers finely for a smooth bite or leave chunkier for added crunch.
- Freeze before dipping if you’re working in a warm kitchen.
- Use candy melts if you prefer a glossy, crack-free chocolate shell.
Serving Suggestions
- Holiday platters: Perfect for Christmas, Easter, Halloween, or Valentine’s Day.
- Gift boxes: Package in mini cupcake liners inside a decorative tin.
- Party trays: Mix with other no-bake balls like Oreo truffles or buckeyes.
Common Mistakes to Avoid
- Overmixing the filling: It can become greasy. Stop once it holds together.
- Skipping the chill: Warm dough will fall apart in melted chocolate.
- Too thick chocolate: Thin it with coconut oil for easier coating.
Storing Tips for the Recipe
- Refrigerator: Store in an airtight container for up to 2 weeks.
- Freezer: Freeze for up to 3 months. Defrost in the fridge overnight.
- Room temp: OK for a day or two, but chocolate may soften.
Conclusion
These Butterfinger Balls are creamy, crunchy, chocolaty, and incredibly easy to make. With just a handful of ingredients and no oven required, they’re the perfect dessert for bakers and non-bakers alike.
Make them once, and they’ll become a year-round favorite. Try them and tag us with your creations!
FAQs
Q: Can I use natural peanut butter?
A: It’s not recommended—natural varieties are too oily and loose. Use shelf-stable creamy peanut butter.
Q: What’s the best chocolate to use?
A: Semi-sweet chips or candy melts work best. Milk chocolate gives a sweeter, classic candy flavor.
Q: Can I make these nut-free?
A: Try sunflower butter and a crunchy candy alternative (like toffee bits), but results may vary.
