
Introduction
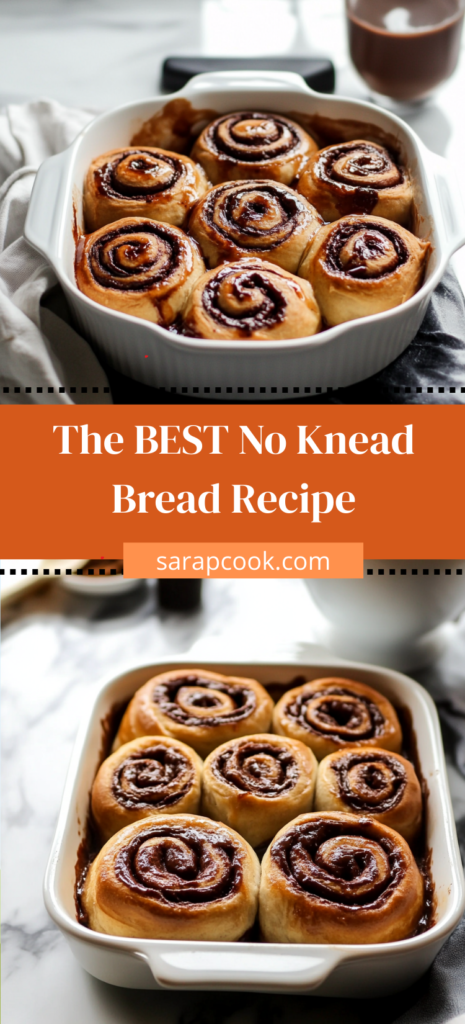
Can a loaf of crusty, golden artisan bread really be made without kneading, mixers, or baking experience? Surprisingly, yes—and The BEST No Knead Bread Recipe proves it. This wildly popular method, first popularized by Jim Lahey and later perfected by home bakers across the world, delivers bakery-level results with minimal effort and just four ingredients.
Whether you’re a seasoned baker or an intimidated newbie, this no-fail recipe delivers a chewy interior, crackly crust, and deep fermented flavor—all without a single knead.
🧠 Fact: According to Google Trends, searches for “no knead bread” peak every holiday season and during meal-prep weekends—proof that this method is both seasonal and evergreen in popularity.
Ingredients List
Essential Ingredients:
- 3 cups all-purpose or bread flour (spooned and leveled)
- 1/4 teaspoon instant yeast (or active dry)
- 1 1/2 teaspoons salt
- 1 1/2 cups warm water (110°F or room temp if rising overnight)
Optional Enhancements:
- 1 tablespoon honey (for a slightly sweet flavor)
- 1 teaspoon apple cider vinegar (for more tang)
- 1/2 teaspoon garlic powder or rosemary (for an herby touch)
Substitutions:
- Swap AP flour with whole wheat for 1/3 of the total for a nuttier flavor.
- Use gluten-free 1:1 flour blends (results may vary slightly in texture).
- If using active dry yeast, dissolve in water first for 5 minutes.
Timing
- Prep Time: 5 minutes
- First Rise: 8–18 hours (overnight recommended)
- Second Rise: 30–45 minutes
- Bake Time: 45 minutes
- Total Time: ~9 to 19 hours (mostly hands-off)
Compared to traditional artisan bread, this version saves 70% of the labor time while producing even better results.
Step-by-Step Instructions
Step 1: Mix the Dough
In a large bowl, stir together flour, yeast, and salt. Pour in warm water and mix with a wooden spoon or spatula until a shaggy, sticky dough forms. Do not knead.
💡 Tip: The dough should be sticky. If it’s too dry, add 1–2 tablespoons more water.
Step 2: Cover and Let It Rise
Cover the bowl tightly with plastic wrap or a damp kitchen towel. Let sit at room temperature (68–72°F) for 8 to 18 hours until doubled in size and bubbly.
🌡️ Colder rooms may require the full 18 hours. Use the oven (turned off) as a proofing box.
Step 3: Shape the Dough
Turn the dough onto a floured surface. Fold it a couple of times into a round shape. Place on parchment paper and cover with a towel. Let rise 30–45 minutes.
Step 4: Preheat the Dutch Oven
Place a Dutch oven (with lid) into your oven and preheat to 450°F for 30 minutes. This creates a steam chamber for a perfect crust.
Step 5: Bake
Carefully place the dough (with parchment) into the hot Dutch oven. Cover and bake for 30 minutes. Remove the lid and bake an additional 12–15 minutes until golden brown.
Step 6: Cool Before Slicing
Remove from oven and cool on a wire rack for at least 30 minutes. This allows the interior to set fully.
Nutritional Information (Per Slice, Based on 12 Slices)
- Calories: 130
- Protein: 4g
- Fat: 0g
- Carbohydrates: 27g
- Fiber: 1g
- Sugar: <1g
- Sodium: 220mg
Note: Adding seeds or whole grains can improve fiber and micronutrient content.
Healthier Alternatives for the Recipe
- Whole Grain Option: Replace 1 cup of all-purpose flour with whole wheat.
- Seeded Version: Add 1/4 cup sunflower seeds, flax, or chia for texture and nutrition.
- Low-Sodium: Reduce salt by half and use unsalted butter or olive oil when serving.
Serving Suggestions
- Breakfast: Toasted with butter and a drizzle of honey or jam.
- Lunch: Perfect base for open-faced avocado toast or sandwiches.
- Dinner: Serve with soups, stews, or pasta for the ultimate comfort meal.
- Entertaining: Slice and serve with olive oil + balsamic vinegar or a cheese board.
🍞 Pro Tip: Leftovers make incredible croutons or stuffing for poultry and pork dishes.
Common Mistakes to Avoid
- Not letting it rise long enough: Under-proofed dough leads to dense bread.
- Using too much flour: It should be sticky; don’t over-correct with flour.
- Skipping the preheat: A blazing hot Dutch oven is essential for crust development.
- Slicing too soon: Let it rest to avoid a gummy, undercooked interior.
Storing Tips for the Recipe
- Countertop: Wrap loosely in foil or place in a bread box for 2–3 days.
- Freezer: Slice and freeze for up to 2 months in a zip-top bag.
- Reheating: Toast slices or warm the whole loaf at 325°F for 10–15 minutes.
Conclusion
This BEST No Knead Bread Recipe is proof that great bread doesn’t require years of baking experience or complicated techniques. With simple ingredients and time doing the heavy lifting, you’ll achieve a rustic loaf that’s perfect for any meal.
Tried this recipe? Drop a comment, share your photo, and don’t forget to subscribe for more easy artisan recipes!
FAQs
Q: Can I bake this without a Dutch oven?
A: Yes. Use a heavy baking dish or cast iron skillet with foil on top. The crust may be slightly less crisp.
Q: Can I refrigerate the dough after the first rise?
A: Definitely! After the initial rise, refrigerate for up to 2 days and bake cold. It enhances flavor.
Q: Can I double the recipe?
A: Yes, but divide the dough in two and bake in separate Dutch ovens or batches for best results.
Q: Why is my crust too hard?
A: If it’s overly hard, try shortening the lid-off time during baking or reducing the oven temp slightly.
