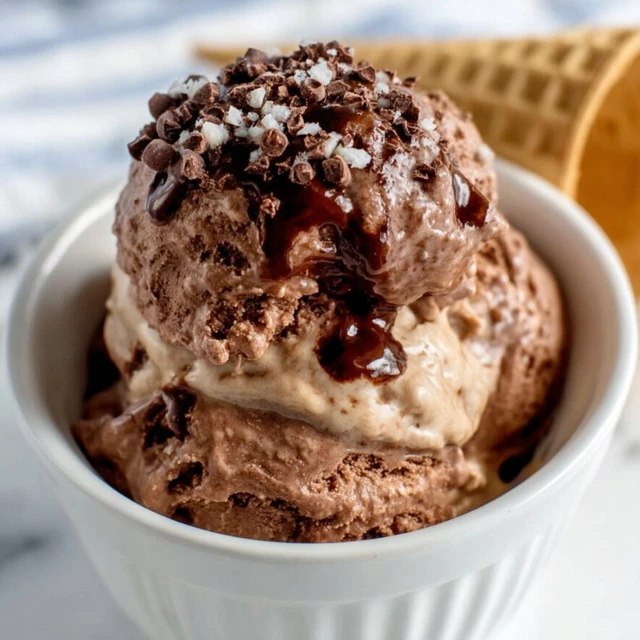
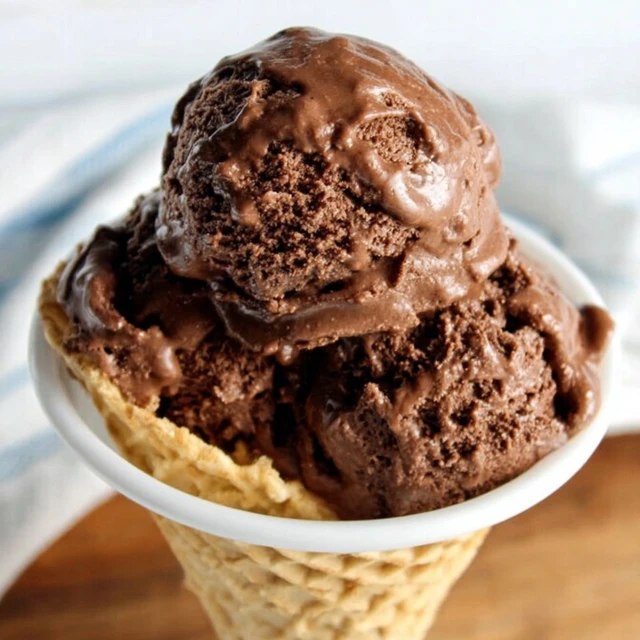
This is the 4-ingredient ultra-creamy ice cream that doesn’t need an ice cream maker. Sweetened condensed milk + heavy whipped cream + cocoa + melted chocolate folded together and frozen. Stays scoopable for weeks, tastes like premium ice cream, costs $5 to make. The condensed milk prevents iciness without churning. Makes six cups.
Fun fact: the no-churn ice cream technique was popularized by Nigella Lawson in the early 2010s, but the underlying science is older — sweetened condensed milk’s high sugar content depresses the freezing point of water, which prevents large ice crystals from forming. Without an ice cream maker churning air in, you’d normally get a brick. Condensed milk + air whipped into the cream replaces what an ice cream maker does mechanically.
Why this recipe works
CONDENSED MILK = NO ICE. Sweetened condensed milk’s sugar content stops large ice crystals from forming during freezing. That’s why no-churn doesn’t turn into a brick.
WHIPPED CREAM = THE AIR. Folding cold-whipped cream into the base traps thousands of micro-air-bubbles. That’s what an ice cream maker does mechanically; this does it by hand.
REAL MELTED CHOCOLATE. Cocoa powder alone tastes flat. Melting in 4 oz of real chocolate gives the ice cream depth and that ‘premium’ chocolate flavor.
Ingredients
Serves 6 cups (12 scoops).
Chocolate base:
1 (14 oz) can sweetened condensed milk
4 oz (115 g) dark chocolate (60-70%), chopped
1/2 cup unsweetened cocoa powder
1 tsp vanilla extract
Pinch of salt
Whipped cream layer:
2 cups (480 ml) heavy whipping cream, very cold
Optional mix-ins:
1/2 cup chocolate chips
1/2 cup chopped toasted nuts (almonds, hazelnuts, pecans)
1/3 cup brownie chunks
Caramel or fudge swirl
Instructions
Step 1: Melt the chocolate base
In a microwave-safe bowl, combine condensed milk and chopped chocolate. Microwave 60 seconds, stir until chocolate is fully melted (heat 15 more seconds if needed). Whisk in cocoa powder, vanilla, and salt until smooth and glossy. Cool to room temperature — 15 minutes.
Step 2: Whip the cream
In a separate large cold bowl, whip the heavy cream on high speed 3-4 minutes until stiff peaks form. Should hold a clean peak when you lift the beaters.
Step 3: Fold them together
Add 1/3 of the whipped cream to the cooled chocolate base; whisk in to lighten (this is okay to deflate slightly — it’s just loosening the base). Gently fold in the remaining whipped cream in 2 more additions with a spatula — fold under and over, don’t stir. Stop the moment everything is uniformly chocolate-brown with no white streaks.
Step 4: Add mix-ins (optional)
If using mix-ins, gently fold them in now. Don’t overmix.
Step 5: Freeze
Pour mixture into a loaf pan or freezer-safe container. Smooth the top with a spatula. Press a piece of parchment or plastic directly onto the surface (prevents ice crystals).
Step 6: Wait
Freeze AT LEAST 5 hours, ideally overnight. The texture is best after 8-12 hours of freezing — the cream sets and the flavors deepen.
Step 7: Scoop and serve
Let sit at room temperature 5 minutes before scooping (no-churn ice cream gets very firm). Scoop, serve, drizzle with chocolate sauce if you want.
Nutrition information
Calories: 290 kcal per scoop (1/2 cup)
Protein: 4 g
Carbohydrates: 28 g
Sugar: 24 g
Fat: 19 g
Saturated Fat: 12 g
Pro tips for the best homemade chocolate ice cream
USE GOOD COCOA. Dutch-process cocoa gives darker color and smoother flavor. The chocolate flavor depends 100% on what you put in — cheap cocoa = cheap ice cream.
FOLD, DON’T STIR. Stirring deflates the whipped cream and gives you dense, heavy ice cream. Slow, gentle folding keeps the air in.
PRESS PARCHMENT. A piece of parchment paper or plastic wrap pressed directly onto the surface keeps freezer-burn ice crystals from forming on top. Cover the container after too.
FLAVOR VARIATIONS. Swap the chocolate for 1 cup peanut butter (peanut butter no-churn). Or add 1 tbsp espresso powder (mocha). Or skip chocolate entirely and add 1 tsp mint extract + 1/2 cup chocolate chips (mint chocolate chip).
Frequently asked questions
How long does it keep?
2-3 weeks in the freezer in a tight container. After 3 weeks the cream starts to develop ice crystals. Best within the first week.
Why is my ice cream rock hard?
No-churn naturally freezes harder than store-bought (which has additives to stay soft). Let it sit at room temp 5-10 min before scooping. A warm scoop also helps.
Can I make it without the chocolate?
Yes — leave out the chopped chocolate, use 3/4 cup cocoa instead of 1/2 cup. Texture stays the same; flavor is slightly less rich but still excellent.
Is there a dairy-free version?
Sub condensed coconut milk (canned) for the condensed milk, and whipped coconut cream for the heavy cream. Texture will be slightly denser but tastes great.
Why no eggs?
Traditional custard ice cream uses eggs as the emulsifier and to create texture. This no-churn version uses condensed milk for the same effect — simpler, no risk of overcooked custard, and no raw eggs.